In four years working in Broanmain’s toolroom, Kamil has not scrapped a single tool
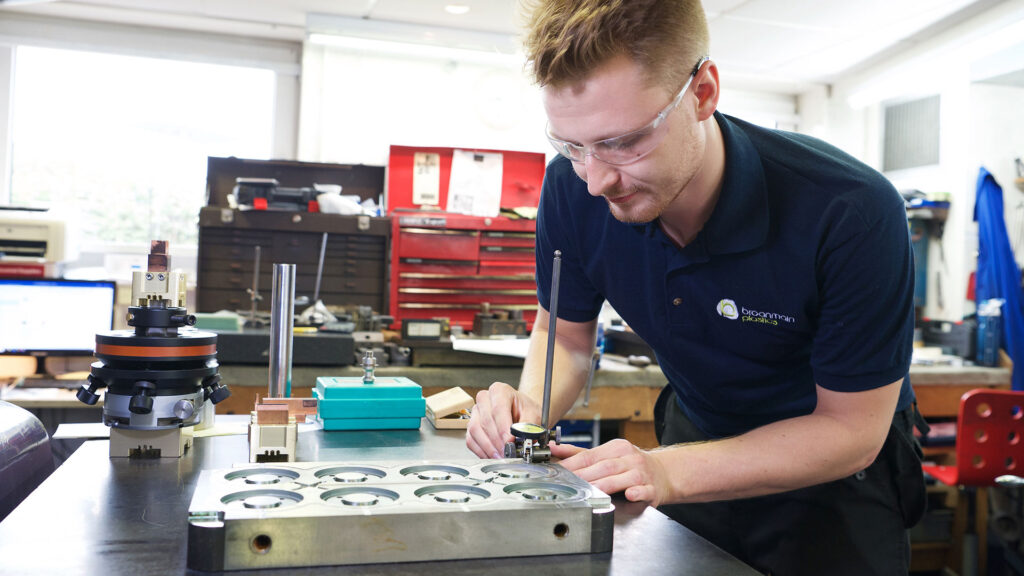
Broanmain tool manager Kamil Stec explains how we go about extending the life of customers’ precision mould tools.
The cost of creating an injection moulding tool can run into thousands of pounds. One of the key considerations for product engineers has to be the operational lifespan of the tooling. Rather than investing in a full tool replacement, modification options can range from cutting a new hole, to increasing the part size or expanding the wall thickness. The process usually begins with a drawing. However, Kamil says most proficient toolmakers can eyeball a tool and present viable modification options and cost breakdowns.
Kamil reports: “Generally speaking if something breaks within the tool, there is always a way around it. Obviously the more involved the repair is, the more it is likely to cost. Yet, it’s incomparable to a full tool build.” The main instance where a new commission might be warranted is when changing the moulding material or when making multiple changes to the tool dimension, which requires adding rather than removing metal.
Expanding part geometries
It’s always easier to cut more material, rather than add material in a tool. Removal is often done in small increments. If the size of the tool cavity allows it, metal can be added. This can be highly complex and isn’t usually advisable for high-speed moulding.
Making a moulded polymer part thicker is relatively straight forward. By making the initially geometries in the tooling thin, the thickness can be expanded by making cuts into the tool. Likewise, it’s advisable to make the outside diameter and shape of the part with the tool as small as possible. This then enables the tool to be altered instead of replacing it.
Adding features
Imagine carving into stone. Once the features are etched in, they are virtually impossible to remove. Until the features of the part are fully determined, leave them out. Ribbing, raised text, texture etc. can be added once the tool is near completion. It may be possible to replace the core of the tool.
Do consider future features and the different iterations that might potentially be needed. If these are factored into the development phase of the tool, future modifications are more straightforward.
Kamil highlights that the most common adaptation is changing the size of holes within the tool.
Switching materials
Moulding tools are typically designed for processing a particular plastic. That’s because each polymer has different shrinkage rates and also has different gating and venting requirements. Occasionally it’s possible to mould multiple plastics in the same mould. However, there’s always a size difference in the part. This can be particularly troublesome if the component forms part of an assembly where pieces are slotted together with great precision.
Changing the material can also cause other quality issues such as flash and burns in components. Heat transfer also needs to be considered. Using copper alloys for certain sections of the tool can help to defuse the heat a bit better. Mixing different grades and hardness of tool steels is advisable, especially when there are sliding parts and complex shut offs within the mould cavity.
For corrosive or abrasive plastics, Broanmain can offer different treatments and coatings, such as nitriding and hard chroming. These can further improve wear resistance.
Draft angles
Often, drawings or 3-D prototype models don’t factor in a draft angle. This can impact the tool design process and ultimately the mould ability of a component and how it’s ejected from the tool cavity during production.
As well as increasing the number of rejected parts and potentially affecting the finish of the component, not having a draft angle can also damage the mould tool. Rather than having squared walls in the injection moulded part, they need to be slanted at an angle to the ejection and opening of the tool.
Undercuts
An undercut is a feature that is formed perpendicular to the mould tool standard opening direction and prevents easy demoulding. A typical example is an opening in the side of a part. For an open and shut moulding tool, filling the perpendicular opening can be complex and costly. The more openings, the more expensive it can be, as additional tooling actions are often required. Furthermore, parts with internal threads or ridges can add to the tooling complexity and be expensive to address.
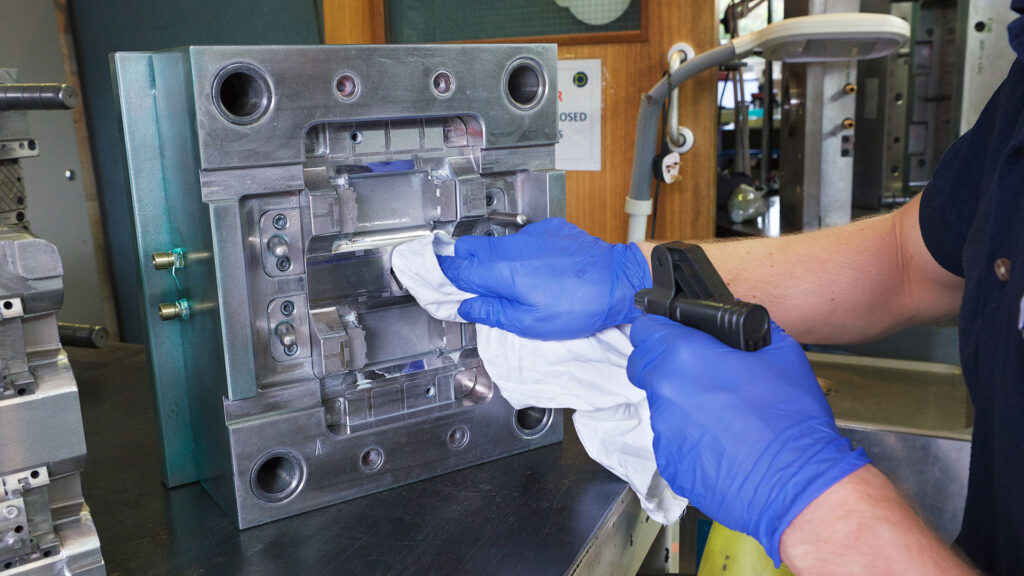
A well-made and regularly serviced, high-quality master tool will enjoy a long and successful service life